
Ask Matt
 In
this section, I'll be answering bike related questions that I feel are pertinent
to the sport, and I'm also happy to answer submitted questions. My
experienced background gives me a lot of insight that can help you be a
more complete cyclist.
In
this section, I'll be answering bike related questions that I feel are pertinent
to the sport, and I'm also happy to answer submitted questions. My
experienced background gives me a lot of insight that can help you be a
more complete cyclist.
Park Tool Summit 2/18/2012
Park Tool, the largest bike tool maker in the world, held what they call a Tool Summit in January 2012. They gathered some of the most prominent manufacturers in the industry to hold instructional classes. These classes were designed to keep mechanics up to date on the latest techniques and practices both in theory and with hands on experience. It was also a good time for mechanics to "talk shop" with other mechanics.
During the Park tool seminar, they showed off some new tools and the proper
use of them.
Next for me was Cane Creek. They brought with them their top of the line
110 headset and brand new Double Barrel Air rear shock. It was great being
able to properly take apart a shock like this that is new to the market
and to see how it works. The next seminar for me was the Fox. During this
seminar we completely took apart a Fox fork. Even though I have done this
many times, it is always good to have proper practices reinforced by the
people who make the fork.
The next day was full with the big three component manufacturers, SRAM,
Shimano and Campagnolo.
In the SRAM seminar, we worked on a Rock Shox fork and then were shown all
the latest with Quarq power meters. Quarq was recently acquired by SRAM.
Power measurement is quickly becoming an essential training tool for performance
oriented cyclists.
In the Shimano session, they were showcasing their recently released Ultegra Di2 electronic group. I was able to install and adjust a complete group. During the process I was able to learn some of the intricacies of installation and some really great features of this unique group. I think the electronic shifting will play a huge role in future bikes. I think it will allow even more design possibilities when combined with modern carbon fiber frames. It solves quite a few issues that are created with current cable systems and certain frames.
My last seminar was with Campagnolo. This was an exciting session because they were showcasing their new EPS electronic shifting. This group is so new that we were some of the only people in the country to be able to actually use it and adjust it. It is a very impressive group. They actually began developing this group 20 years ago. This is a case of the idea coming long before the technology was available. As computing power and battery technology became smaller and more efficient, companies like Shimano and Campagnolo have been able to make electronic shifting viable.
I would say that events like this are very good to allow mechanics from
around the country to keep up to date and provide the best service possible.
Shock Maintenance 4/22/2011
Did you know that suspension forks and rear shocks require regular service? I get the opportunity to service many forks and shocks and the most common problem that I see is the lack of regular service and the damage that can lead to.
During an average ride the fork goes through thousands of up/down cycles. All this movement is great to smooth out the bumps and absorb the impact of those big drops and jumps. However, it can lead to a lot of friction. There are many different fork designs on the market but all forks will have some kind of fluid to keep the shock moving friction free. Some forks use the damping fluid as lubrication and others have separate damping chambers and lubricating fluid. Virtually all designs will separate the spring side from the damping side. Generally damping duties will be housed in the right leg, to avoid spilling fluid on the brakes if a major leak develops.
Through normal fork motion a slight amount of oil will be left on the upper tubes of the fork. This oil will help keep the upper tubes and seals lubricated for friction free action. As the fork moves, the fluid splashes around inside the legs and lubricates the bushings. Overtime the lubricating fluid volume will decrease to a point that it cannot lubricate the fork properly. The volume can decrease to zero and with no fluid the bushings can wear through the smooth coating on the stanchion tubes and even through the metal itself. When this happens there is no repair option, just replacement.
All fork manufacturers have a service interval guide, see below the links for Fox and Rock Shox
Fox (once you read/accept the disclaimer notice you will be taken to a page that has links such as the service intervals): http://service.foxracingshox.com/consumers/FOXDisclaimerUserChoice.htm
Rock Shox: :http://www.sram.com/_media/techdocs/07_RockShox_SPC_C_Technical_Information.pdf
How frequently you have your fork serviced depends on a couple of factors. Those factors are; how often you ride and the conditions in which you ride. Manufacturers will recommend an hour interval for service. For example, Fox recommends that the oil be changed every 30 hours. Forks used in extreme conditions such as DH, may need to have more frequent service. In my experience, having a fork overhauled every 9-12 months is pretty average for this area.
Rear shocks also require service. By far the most common rear shock is the Fox Float. Servicing a Float rear shock air can is a simple procedure that can be done at almost any shop. It gets much more complicated when the damping fluid needs to be changed. No shop is equipped to provide this service. The shock must be sent to Fox or an authorized service center. Some planning ahead can be required because it can take a couple of weeks for this service when factoring in shipping times. Regular periodic maintenance can save you a lot of money and downtime from riding. It will also maintain the performance of your equipment.
What equipment should I bring on the ride? 8/22/2010
Cycling can be an equipment intensive sport. For the most part, once you acquire the proper equipment, you don't need to keep buying it. This is especially true if you buy quality products. I often get asked what I consider essential to carry on a ride.
In my opinion, every cyclist needs to carry enough gear to change a flat tire. This means a spare tube of the correct size, tire levers to help remove the tire from the rim, a patch kit and a method of inflating the new tube.
The most popular way of inflating road tires is a CO2 cartridge and I like this method because the cartridge is compact and easy to carry. Cartridges do come in different sizes, but I recommend the 16 gram size. This size will inflate a road tire to around 100psi. The down side to CO2 is that the cartridges are single use only. The empty steel cartridge can be recycled after you have use. Another option of inflating tires is a pump. Pumps are more popular with mountain bikers because they easily inflate the larger tire volume and you can use them over and over for all the flats mountain bikers can get.
I always recommend carrying some cash. A folded up, a dollar bill can be an emergency patch for a cut tire. Placed inside the tire, it can prevent the tube from blowing out of the cut, even at 100psi. Of course bills do double duty and can come in handy if you want to buy something at a convenience store.
One last thing to carry is a cell phone. At least in this area a cell phone can be the ultimate tool, provided your spouse or friend is willing to come get you.
A way of carrying these things is also handy. A saddle bag or camelback will fill the bill. Personally I like riding with a hydration pack. I like having one big enough to hold my water and my tools.
Personally, I only carry the basic items mentioned above if I am on a road ride. When I am out on my mountain bike I do carry a few more items. If you are interested in being prepared for more issues, there are many tools to help you if you want to bring them along. On my mountain bike I carry a chain tool. Chains are much more reliable compared to the past, but a bad shift or a stick caught in the chain can still break one. Having a quality chain tool can mean the difference between walking and riding. I also like to carry a SRAM powerlink and/or a Shimano chain pin with me. A powerlink can be used to connect the chain ends together if they were damaged when the chain broke. A good mini tool will have a chain tool and other tools such as allen wrenches. Being able to make a quick adjustment or move the saddle can also be very handy. If you have a full suspension bike with air shocks, a shock pump is a nice addition to your riding gear.
Organized Rides 6/20/2010
A very popular activity for cyclists is an organized ride, such as a charity ride or a tour. I often help with SAG (support and gear) on these events. Over the years I see many common issues that can be easily fixed and help lead to a great experience.
Here are a few suggestions on things you can do to help prepare yourself
and your bike for the event.
Many events want you to have your bike looked at by a mechanic for safety
reasons. You just need to bring the bike to a supporting shop or to your
favorite mechanic (hopefully that's me). An observant mechanic can spot
problems you didn't even know you had. I often see brake pads that are worn
out, tires that are dry rotted or frayed cables. All of which can ruin an
important ride. Bringing your bike to the mechanic early is important. Waiting
until the day before or even two days before is waiting too long. Give yourself
enough time to deal with an unexpected repair, bring your bike in at least
one week before the event. This way there is enough tome to order parts
if necessary. Having the check done at least a week in advance will also
give you time to ride the bike before the event to make sure it is working
properly after a repair.
Even if the event is supported, it is still a good idea to have at least enough equipment with you to repair a flat. There is another article on this site that goes over flat tire repair equipment if you are unsure of exactly what this means.
It is also good to bring some cash. Most events will offer free service, but parts are not free. I have replaced many cut tires on supported rides. Having cash on hand is much easier for everybody. Also a dollar bill is a great temporary patch for a cut tire.
Also make a list of items you need to bring with you and check them off before you leave the house. Don't forget to bring your shoes, helmet, water bottles or other riding gear. Also think about things like the wheels. Several times riders have needed to borrow wheels even before the ride starts.
With some advance prep work, you can have a great ride with minimal support
from your friendly mechanic.
Extending the Life of your Drivetrain Part 2: Measuring your Chain 6/20/2010
Contrary to popular belief, chains don't stretch. They do get longer, but it is not because they stretch.
There are four pieces that make up a chain: the outer link, inner link,
roller and the rivet that connects them all. The outer link is specially
shaped to engage the chainrings and cogs more smoothly and precisely. This
is one element to the high quality shifting performance of modern drivetrains.
The inner links trap the rollers and allow them to rotate. The rollers are
the round pieces in between the inner links. The rollers are what wear and
allow the chain to become longer. If you can imagine, the roller is round
and rotates on the inner links and the rivet as the chain moves. As the
chain is used friction and dirt will wear the inner portion of the roller
away. The inner diameter of the roller becomes larger allowing more freeplay
and movement. It is this wear that allows the chain to become longer. The
rivet and roller will wear and tolerances will become greater, thus the
chain gets longer. This becomes a big problem as the chain gets more and
more worn. As the chain wears out it can wear the cassette and chainrings
out prematurely. A worn chain is also more prone to chain suck and poor
shifting.
When new the chain has what is called a 1/2 inch pitch. This means that
the distance between the rivets is 1/2 inch. As the rivets and rollers wear
that pitch grows, forcing the teeth on the cassette and chainrings to match
the chain. If the chain is replaced more often, just before it wears out
totally, the life of the cassette and chainrings can be extended greatly.
The chain is the least expensive part of the drivetrain, so replacing it
before it damages the cassette and chainrings makes good financial sense.
Cassettes and chainrings will eventually wear out, but you can defer that
cost for a while by addressing chain issues.
How do you know when your chain is worn? You just need to measure it. There
are many chain wear indicators on the market. I use the Shimano chain wear
indicator. This is a simple go/ no go indicator. This means that the tool
indicates whether the chain is good or not. This style of indicator actually
measures the wear of the rollers. A ruler will also work as a reliable indicator.
Because chains are 1/2 inch pitch, 12 whole links are 12 inches long, measured
rivet center to river center. If the chain measures 12 1/8 inches long your
chain should be replaced.
Measuring your chain is a simple and quick way to make sure your drivetrain
is operating at is best.
If you have questions please feel free to contact me and I will answer them.
Extending the Life of your Drivetrain Part 1: Lubing your Chain 11/9/09
One question I don't get asked very often but should is "how do I lube my chain?". A properly lubed chain will provide better shift performance, longer life and a quieter ride. Lubing a chain is very easy and only requires a small amount of time. All chains do need to be replaced at some point but if you read and follow the procedure below for lubing your chain, you shouldn't have to replace your chain as frequently.
To properly lube a chain you need a dry chain, quality lube and clean rags. If you have a work stand, great, but it is not necessary.
It is also important to choose the correct lube. In our area, an all-around type of lube, like Rock and Roll Gold or Prolink, works well. We don't get enough rain to require an oil based lube. If you do ride a lot in wet weather, oil based lubes, like Pedro's Syn work well because they resist water better. I don't like aerosol applicators because lube ends up going everywhere. This is especially important if your bike has disc brakes. Do not let lube get onto the brake rotors. Getting lube on your brake rotors is bad because the brake pads are porous and will absorb the lube rendering them useless. If you do get lube on your rotors then wash them off with rubbing alcohol immediately before the lube gets a chance to get on your brake pads.
The first step to lubing your chain is to shift into the large chainring and smallest rear cog. Then drip lube onto the chain while pedaling. Apply enough lube so the chain is wet but not dripping wet. You need to let the lube soak in so go grab a beer, glass of wine or a snack. Once the lube has had time to soak in, get your rags and wipe off all of the excess lube until the chain looks new. If you have taken the time to do this properly, your rag should be very dirty and your chain should be nice and shiny. This step is the part that is most often overlooked. This may sound counter intuitive, but it is very important. When you do this step all lubes become "self cleaning". The only good thing that excess lube is for is collecting more dirt. We all know the less dirt on the chain the better. If you used a dry lube, such as Rock and Roll, there will be a thin film of lube to protect the chain from moisture and it is less likely to attract dirt. Wiping off the excess oil is crucial though. Oil will attract dirt faster than you can say dang my chain is dirty.
One other local tip, if you ride in Umstead Park, then you should lube your chain often. The new surface is great to ride on but wears chains out faster than you can say dang my chain is worn out.
If you have questions please feel free to contact me and I will answer them.
Who says what happens in Vegas has to stay in Vegas? 9/25/09
I just got back from Interbike, the annual bicycle trade show in Las Vegas. I had the opportunity to see a lot of the new products as well as some existing products that make our sport fun. It was a great opportunity for me to get the most up to date industry information and to make connections with various vendors. You may have seen several of these products already, but I hope you enjoy hearing and seeing what I thought was interesting.
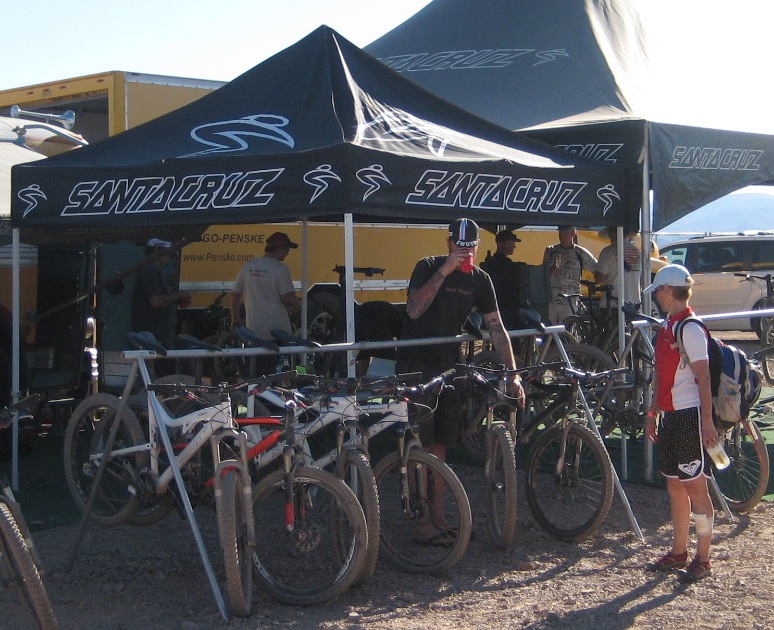
The first day was the Dirt demo. At Dirt demo I had an opportunity to ride bikes on a local trail.  I had the good fortune to ride a Pivot Mach 5, Trek Top Fuel, Santa Cruz Tallboy, Blur LT2 Carbon, and a Blur XC Carbon. These were all incredible bikes. I most liked the Carbon Blurs. My personal style favored the XC model, but the LT2 was awesome. I was impressed with how much confidence the LT2 could give the rider and how bottomless the suspension felt. The XC was just fast and agile. The one I rode had a shorter travel fork. I think that by putting a longer travel fork, 120mm, the Blur XC would be a great all around trail bike with slightly shorter travel than the LT2. The guys at Santa Cruz confirmed my thoughts saying that it is a blast when set up like that. The Tallboy, a new model not released yet, is a 29" Blur. It was a very cool bike. If you are in the market for a 29" full suspension bike, this should be on your list to check out.
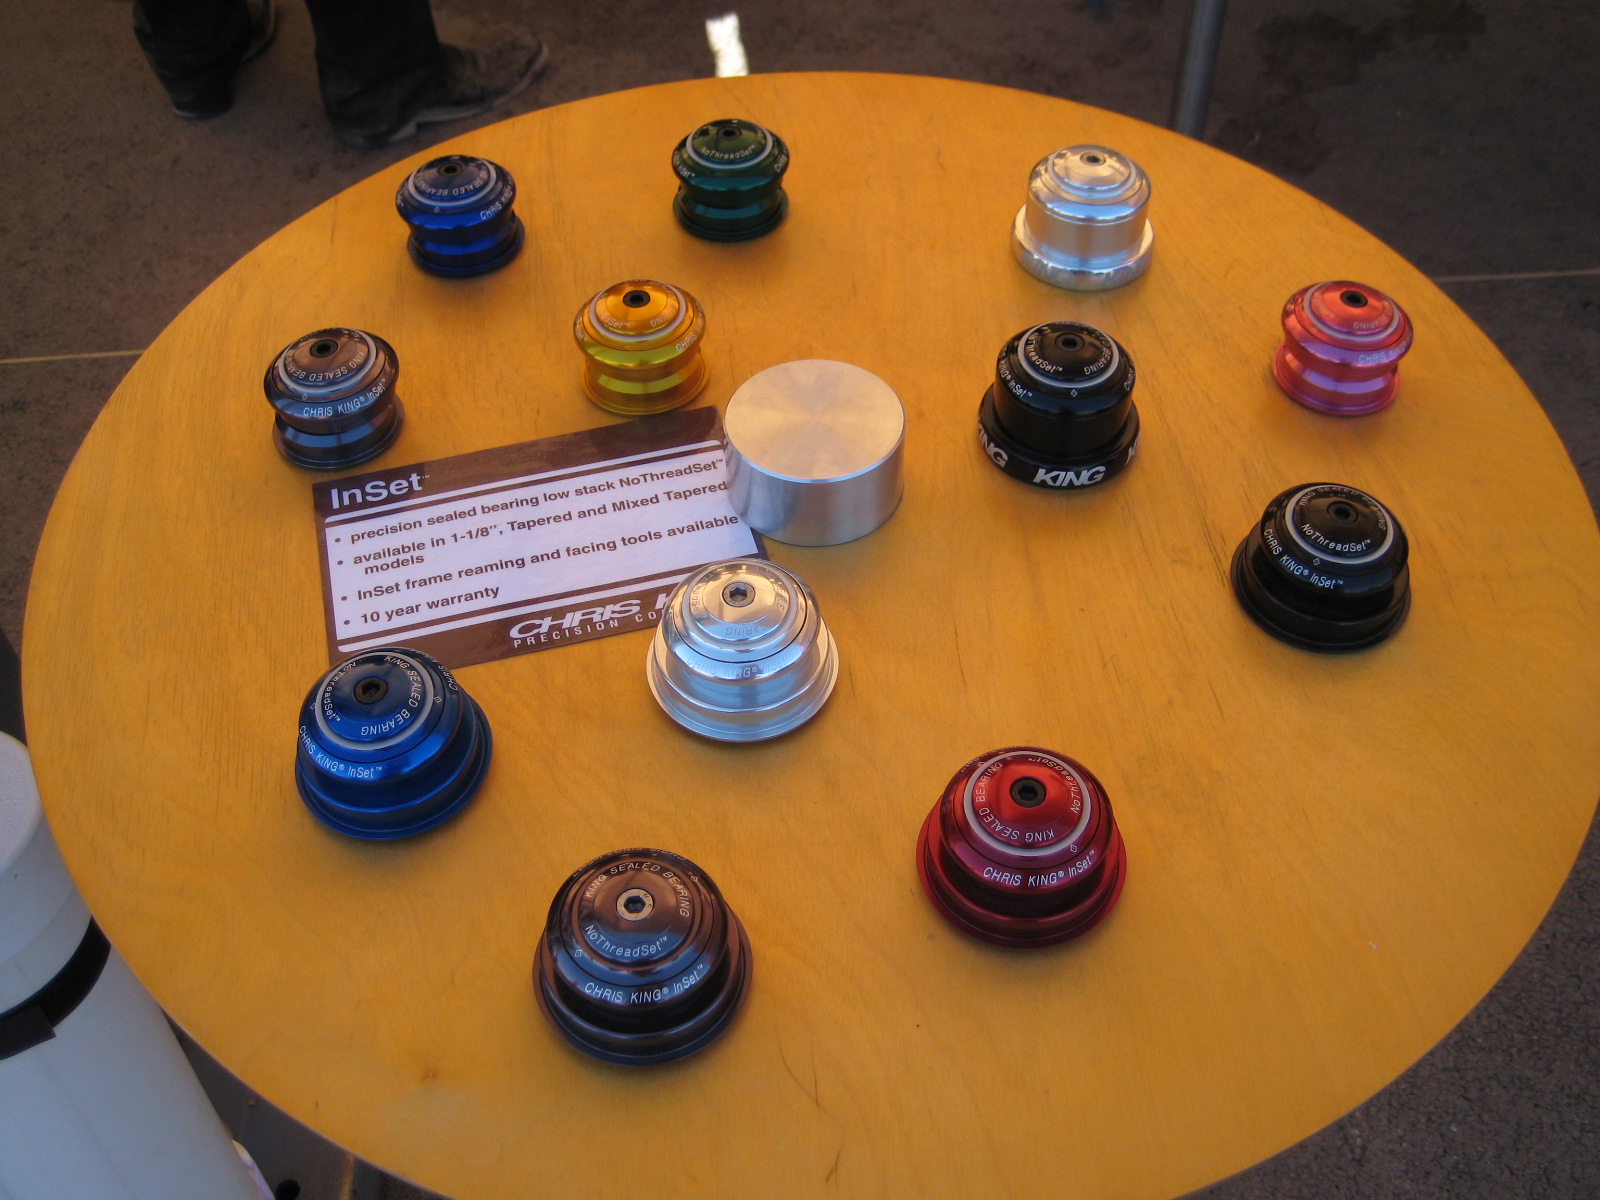
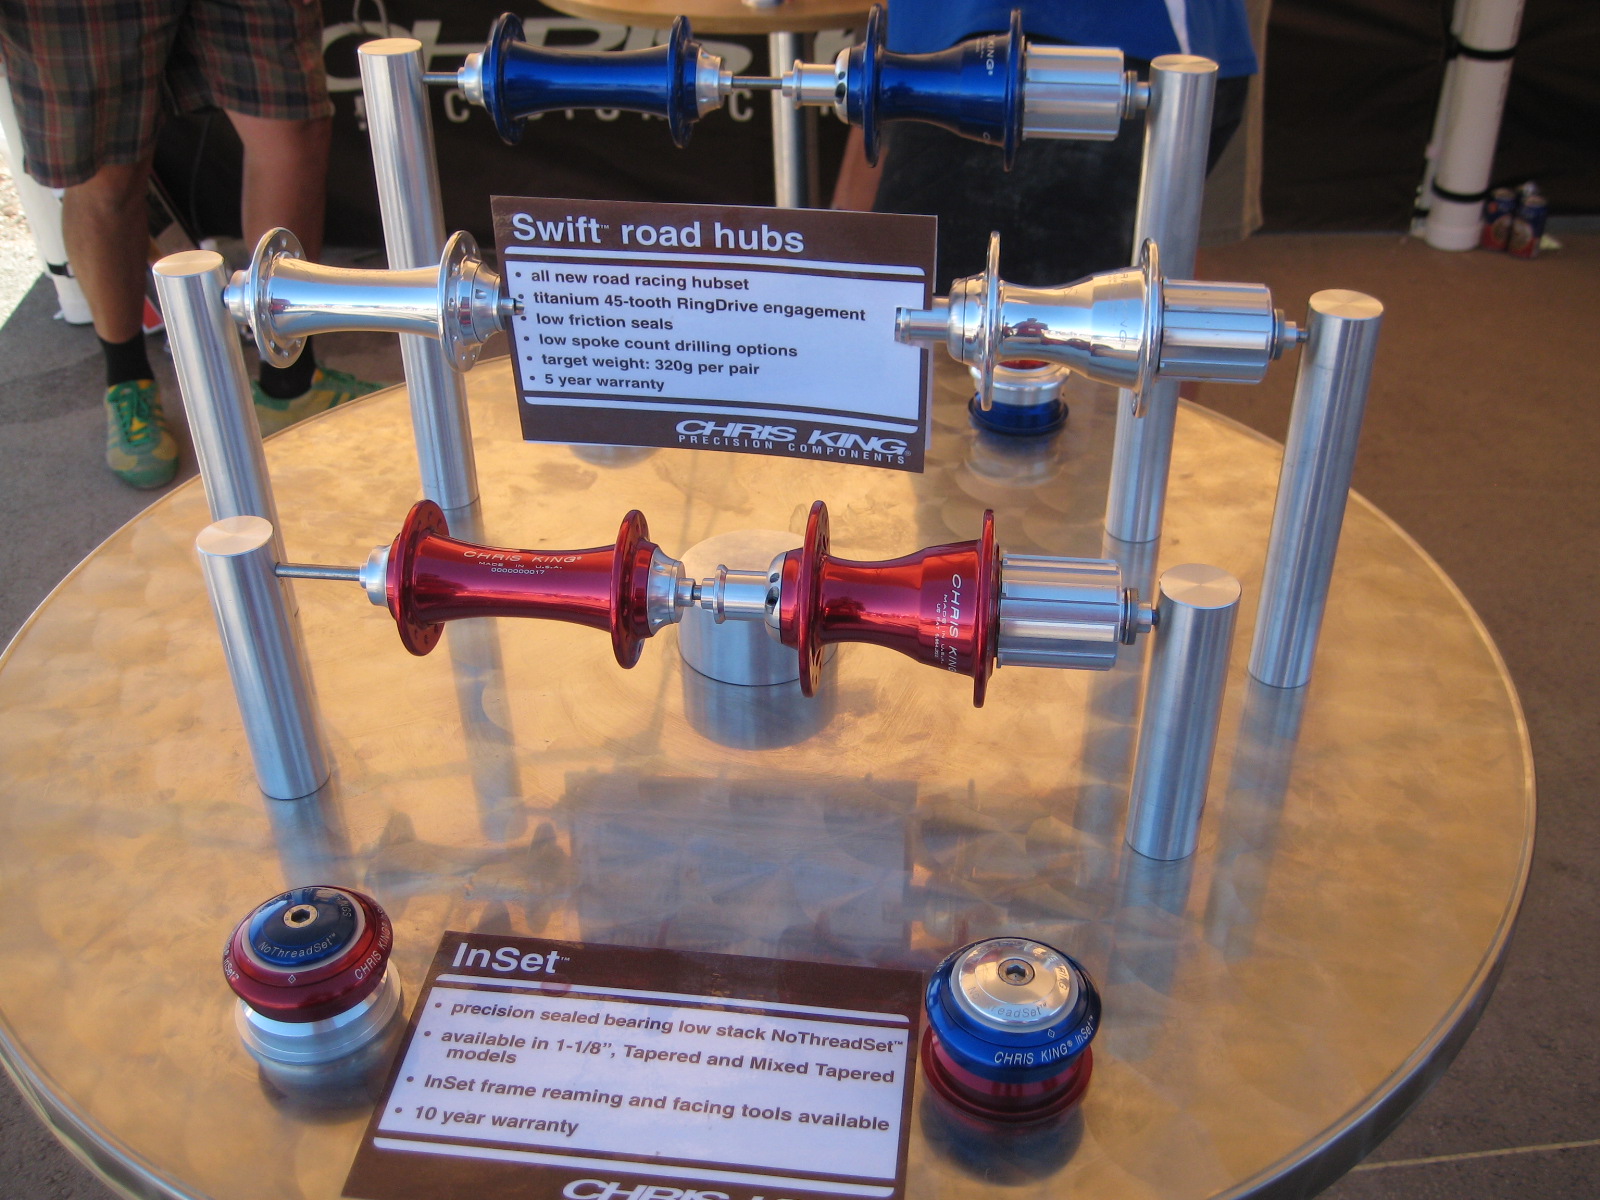
Chris King had a booth with a lot of eye candy. They have a new road hub set that will be released next year. They were very light with new bearings that feature lower resistance seals and redesigned internals. They also had a display of heasets and hubs with all the available colors.
The next day was the first of the indoor show. A stop at the Shimano booth revealed Yumaya accessories for their top of the line groups. The XTR Yumeya kit has been out for a while but is not well known. 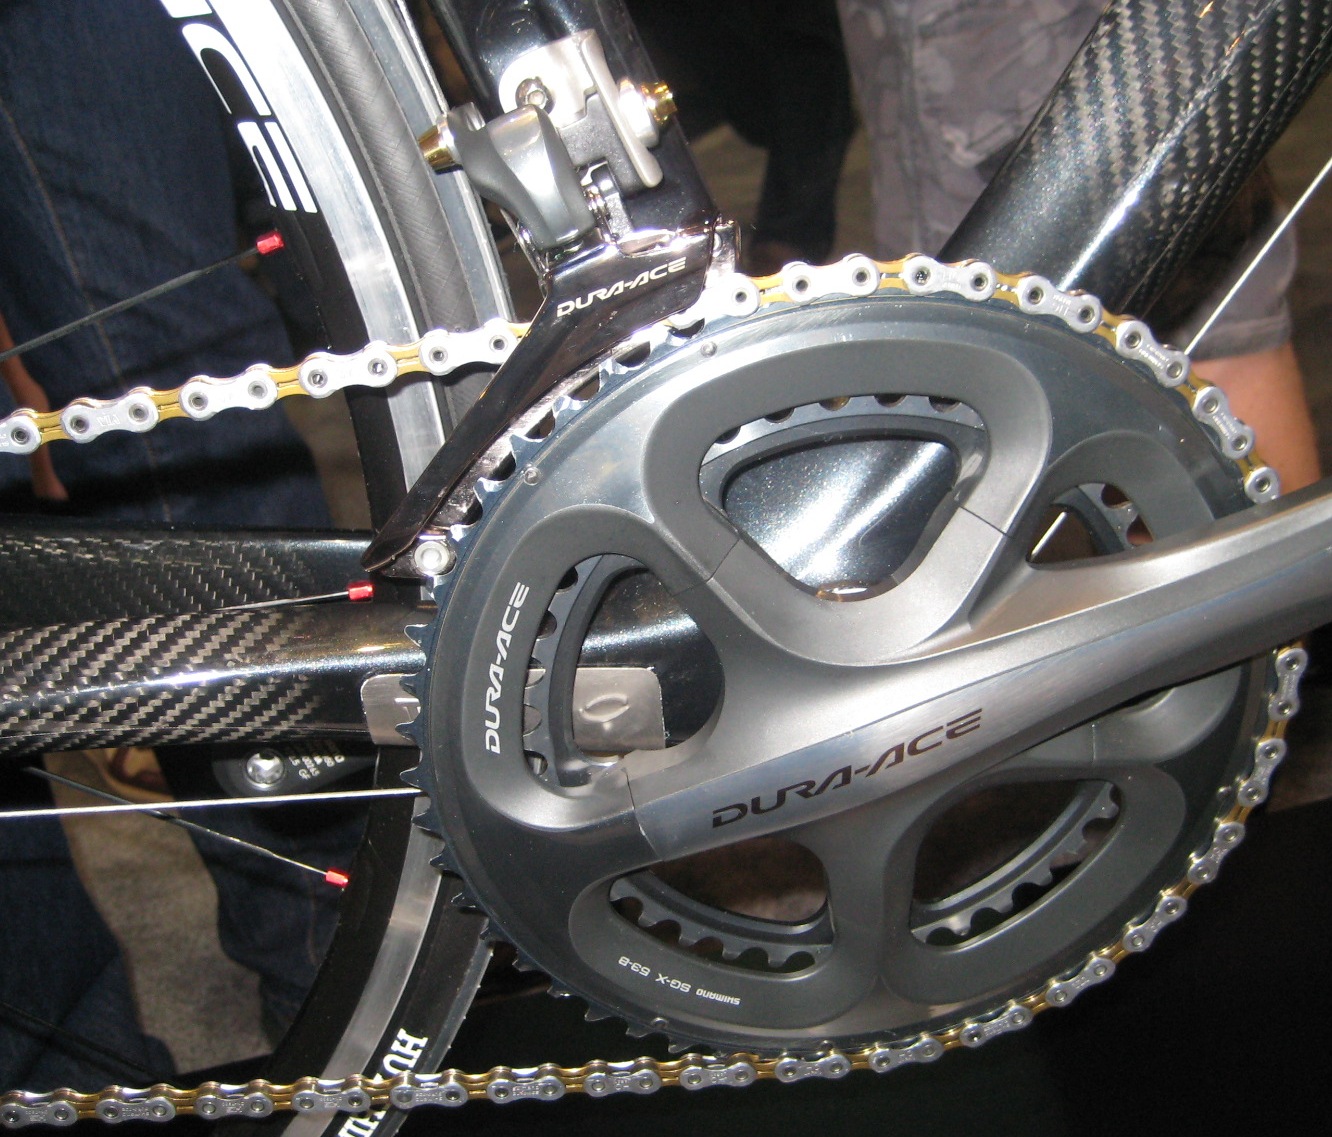 Check it out here http://www.shimano-yumeya.com/. The new Dura Ace kit certainly adds some style to an already great looking kit.
Another interesting product line that I saw was from a company called Lezyne. They offer a line of accessories that range from pumps, mini tools to hydration packs. The parts that impressed me were their pumps. Their floor pumps look like they are built to last with a lot of style. They also offer a shock pump that is very compact with a built in gauge that doesn't resemble others on the market.
Speedplay has a new mountain bike pedal called the Syzr. It is not due to be released until next spring. It looks very promising.
Moulton had an interesting bike made of small diameter stainless steel tubing.

The Serotta booth had some gorgeous bikes on display. Also one of them had some interesting brakes. Looks like Ciamillo (makers of the Zero G brake) is making a carbon fiber brake set. You can even customize the colors.
When these brakes are attached to a MeiVici, it makes for an incredible bike.
Other products I saw that I thought to be very interesting were Kuat racks. They are made of aluminum rather than steel. This makes them substantially lighter than regular racks. They make racks to fit up to four bikes. They even make an attachment that turns the rack into a work stand.
I also had to pay a visit to the Hope Disc brake booth. I really like the Hope brakes and found their reps to be very knowledgeable and helpful. They had their new Tech 2 lever cut open so the internals were visible.
This is only a small portion of what I saw at Interbike. If you have any questions about the products you see here, or are interested in ordering anything just let me know.
Ask Matt Archive

Serving The Triangle...and we're mobile. Phone: 919 819 1060 Email: CaryCycleSurgeon@gmail.com